
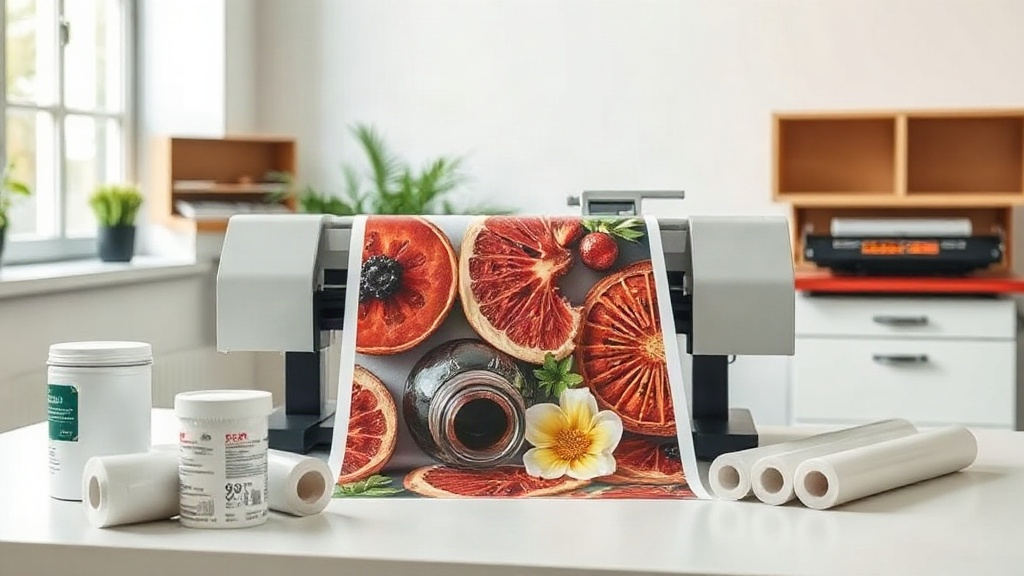
If you've been exploring custom apparel printing, you've likely encountered the term DTF. Short for Direct to Film, this method has quickly become a favorite among small business owners, hobbyists, and professional printers alike. Unlike traditional techniques that require specialized equipment or extensive setup, DTF offers a versatile, cost-effective way to transfer vibrant designs onto a wide range of fabrics. In this guide, we'll walk you through the essentials of DTF printing, from how it works to practical tips for getting started.
What Exactly Is DTF Printing?
DTF printing is a digital printing process where your design is printed onto a special film, then coated with a powder adhesive and cured. The resulting transfer can be heat-pressed onto various materials, including cotton, polyester, blends, and even some non-fabric items. The magic lies in its simplicity: you don't need to pretreat shirts or worry about color limitations like you would with screen printing. Whether you're printing a single custom tee or a batch of 50, DTF delivers consistent, high-quality results.
Why DTF Has Become So Popular
Several factors contribute to the rise of DTF printing. First, it's incredibly versatile. You can print on dark and light fabrics without changing your process, and the colors remain vivid and opaque. Second, the setup cost is relatively low compared to other methods like DTG or screen printing. You don't need expensive pre-treatment machines or multiple screens. Third, DTF transfers are durable; when applied correctly, they withstand repeated washing without cracking or fading. Finally, the ability to print fine details and gradients makes it ideal for complex artwork, photographs, and small text.
How the DTF Process Works Step by Step
Understanding the workflow helps you troubleshoot and optimize your results. Here's a breakdown of the typical DTF printing process:
- Design Preparation: Create or adjust your artwork in a graphics program. Ensure it's mirrored (unless your printer software does it automatically) and sized appropriately. For best results, use a transparent background and save at 300 DPI.
- Printing: Load your DTF film into a compatible printer (often a modified inkjet or dedicated DTF printer) and print your design. The printer lays down white ink as a base, followed by CMYK colors.
- Powder Application: While the ink is still wet, sprinkle hot-melt adhesive powder evenly over the print. Shake off excess powder, then cure the film in an oven or with a heat press at around 160°C (320°F) for 2-3 minutes.
- Transfer: Once cured, your transfer is ready to apply. Set your heat press to 160-170°C (320-340°F) with medium pressure. Press the transfer onto the fabric for 10-15 seconds, then peel the film while it's hot or cold, depending on the film type.
Choosing the Right Materials for DTF Success
Not all films and powders are created equal. The quality of your DTF supplies directly impacts the final output. Look for films that offer excellent ink absorption and release. A good film should feel thin and flexible, not stiff. For powder, opt for a fine-grain hot-melt adhesive that melts evenly and bonds strongly. Also, consider the fabric you're printing on: while DTF works on many materials, some heavily textured or coated fabrics may require testing. Always do a small test press before running a large order.
Printer Considerations
You can convert an existing Epson printer into a DTF printer with a conversion kit, or invest in a dedicated DTF printer. Dedicated units often provide better reliability and white ink circulation, which is crucial for consistent output. If you're just starting, a conversion kit can be a budget-friendly entry point, but be prepared for more maintenance.
Common Challenges and How to Overcome Them
Like any printing method, DTF has its quirks. Here are a few issues you might encounter and their solutions:
- Faded or patchy prints: This often indicates insufficient white ink or a clogged printhead. Run a nozzle check and clean the printhead. Ensure your white ink is well-mixed and within its shelf life.
- Transfer peeling off after washing: This usually means the powder wasn't fully cured or the press temperature was too low. Increase curing time or temperature, and make sure you're using adequate pressure.
- Stiff feel on fabric: Too much powder or over-curing can cause stiffness. Use a fine powder and cure just until the powder melts (it should look glossy).
- Color shifting: Colors may appear different after transfer. Always test with your specific film and fabric combination to adjust your color profiles.
Applications Beyond T-Shirts
While t-shirts are the most common canvas, DTF transfers adhere to much more. You can customize tote bags, hoodies, caps, denim jackets, and even canvas shoes. The key is to choose fabrics that can withstand the heat press without scorching. For items with zippers or buttons, use a pressing pillow to avoid uneven pressure. DTF also works on some leather-like materials, opening up possibilities for branded merchandise and accessories.
Getting Started: A Starter Checklist
Ready to dive into DTF printing? Here's what you'll need:
- A DTF printer or a converted inkjet printer
- DTF film (PET film)
- Hot-melt adhesive powder
- Heat press (or oven for curing)
- Design software (e.g., Photoshop, Illustrator, or free alternatives)
- Protective gear: gloves, mask (for powder)
- Test fabrics
Start with a few test prints to dial in your settings. Join online communities to learn from others' experiences; DTF printing has a steep learning curve but a supportive community.
Frequently Asked Questions About DTF Printing
Can I use DTF on 100% cotton shirts?
Absolutely. DTF transfers bond well to cotton, polyester, and blends. The key is to ensure the fabric is clean and free of wrinkles before pressing.
How long do DTF transfers last?
With proper application and care, DTF prints can last as long as the garment itself. Wash inside out in cold water and avoid harsh detergents or high heat in the dryer to extend the life of the print.
Do I need to pretreat fabric for DTF?
No pretreatment is required. Unlike DTG printing, DTF doesn't need a pre-treatment liquid. Just press and go.
What's the difference between DTF and DTG?
DTF involves printing onto a film and transferring, while DTG (Direct to Garment) prints directly onto the fabric. DTF generally offers better durability on dark colors and works on more fabric types, whereas DTG is limited to mostly cotton and requires pretreatment.
Can I print white text on black shirts with DTF?
Yes, DTF excels at printing white and light colors on dark fabrics because the white ink layer provides a bright base. The result is crisp and opaque.
Whether you're a small business owner looking to expand your product line or a DIY enthusiast wanting to create custom gifts, DTF printing offers a flexible, high-quality solution. With a bit of practice and the right supplies, you'll be producing professional-grade transfers in no time.