
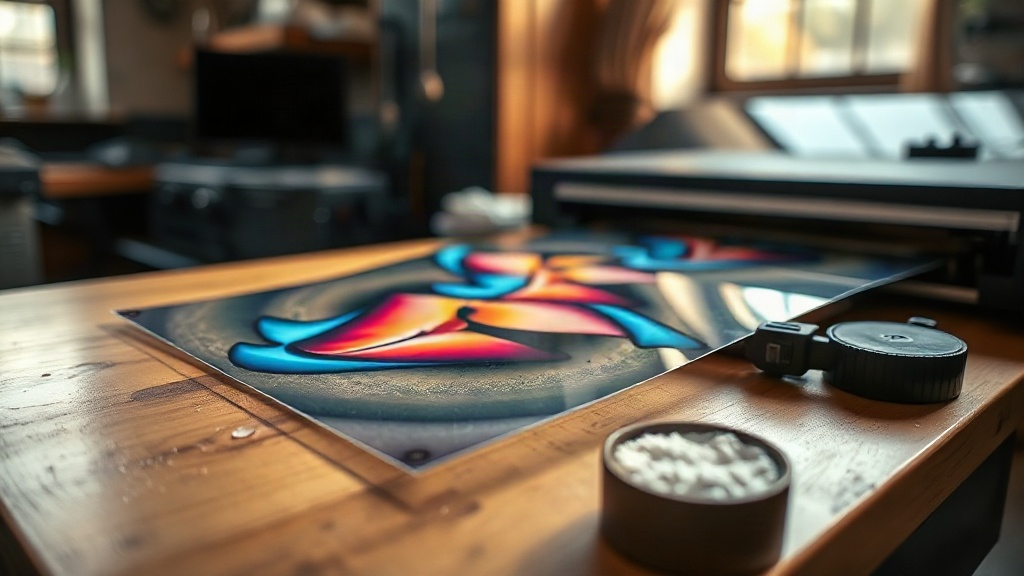
If you have ever tried to print a detailed, multicolor design onto a dark cotton shirt with a standard heat transfer, you know the frustration: cracked edges, dull colors, and a plastic feel that never quite disappears. DTF printing, short for direct-to-film, solves most of those headaches. It lets you print intricate artwork with fine gradients and photographic detail onto a special film, coat it with adhesive powder, and then press it onto almost any fabric. The result is a soft, stretchy transfer that holds up wash after wash.
I started experimenting with DTF about three years ago in a small garage setup, and the learning curve was real. This guide is what I wish I had back then: a practical walkthrough of the materials, the process, and the small adjustments that separate a transfer that peels in a week from one that outlasts the shirt itself.
What Exactly Is DTF Printing?
DTF printing is a two-part system. First, a specialized printer lays down a mirror-image design onto a PET film using water-based pigment inks, usually with a white ink layer underneath the color to make it opaque. Second, while the ink is still wet, you dust a thermoplastic adhesive powder over the print, shake off the excess, and cure it. The powder melts into the ink and becomes the glue that bonds the design to fabric under heat and pressure.
The key difference from DTG (direct-to-garment) is the film. With DTF, the printer never touches the garment. That means you can decorate items a DTG machine would struggle with: nylon jackets, canvas totes, polyester blends, and hard-to-reach areas like zippers and seams. You can also print a batch of transfers today and press them next month, which is a huge advantage for small shops that want to stock popular designs without tying up a press.
The Materials You Actually Need
Before you buy anything, understand that not all DTF supplies are equal. The cheapest film on a marketplace listing often causes more headaches than it saves in cost.
Films: Cold Peel vs. Hot Peel
Cold-peel film requires the transfer to cool completely before you remove the carrier sheet. Hot-peel film lets you strip the sheet while the press is still warm, which speeds up production. Hot peel is more forgiving for beginners because the adhesive is less likely to stretch or lift. If you are pressing dozens of shirts a day, hot peel will save you real time.
Powder: Fine vs. Coarse
Fine powder gives a smoother, softer hand feel and works well for detailed designs. Coarse powder is more forgiving if your ink laydown is heavy, but it can leave a slightly grainier texture. Most shops settle on a fine-to-medium powder for apparel and keep a coarse option for specialty fabrics.
Inks and Printer Setup
You need a printer with a white ink channel and a recirculation system. Without recirculation, white ink settles and clogs the printhead, which is the single most common reason people give up on DTF. A dedicated DTF printer or a converted Epson with a reliable white ink system will save you money in the long run compared to fighting clogs every week.
Step-by-Step: From Design to Pressed Shirt
The process is straightforward once you have the rhythm down. Here is the workflow I use for every order.
- Prepare the artwork. Mirror the design horizontally. Use a transparent background and keep fine lines at least 1 point thick so they survive the powder stage.
- Print onto film. Load the PET film with the matte side facing the printhead. Run a nozzle check first; a single missing nozzle can ruin a whole sheet.
- Apply powder. While the ink is wet, sprinkle powder evenly across the print. Tilt the film and tap the back to remove excess. You want a thin, uniform coating, not a snowdrift.
- Cure the powder. Place the film in a curing oven or under a heat source at around 320°F (160°C) for 2 to 3 minutes, until the powder turns glossy and the print looks slightly raised. Do not over-cure, or the adhesive becomes brittle.
- Press the transfer. Set your heat press to 300–320°F (150–160°C) with medium pressure. Pre-press the garment for 5 seconds to remove moisture. Place the transfer, cover with a Teflon sheet, and press for 10–15 seconds.
- Peel and finish. For hot peel, remove the film immediately in one smooth motion. For cold peel, wait until it is completely cool. Then press again for 5 seconds with a cover sheet to set the adhesive.
Common Problems and How to Fix Them
Even with good materials, things go wrong. Here are the issues I see most often and the adjustments that fix them.
- Transfer peels after washing: Usually under-cured powder or too little pressure. Increase cure time by 30 seconds and check that your press closes firmly.
- Cracked edges: The film was peeled too fast or the ink was over-stretched. Slow down your peel and make sure the transfer is fully cooled if using cold peel.
- Dull colors: Too much powder can mute the print. Use less powder and tap off more aggressively.
- White ink clogs: Run a daily maintenance cycle and keep the printer in a humid environment (40–60% relative humidity).
- Sticky residue on film: The powder was not fully melted. Increase curing temperature slightly and verify with an infrared thermometer.
Which Fabrics Work Best?
One of the biggest selling points of DTF is its versatility. It bonds well to cotton, polyester, cotton-poly blends, canvas, and even some nylons. For 100% polyester, lower your press temperature to around 280°F (140°C) to avoid dye migration, and use a low-bleed film if you are printing white designs on dark polyester. For stretchy fabrics like spandex blends, choose a powder with high elasticity and press with light pressure so the transfer can move with the garment.
If you are decorating a fabric you have never tried before, always run a test press on a scrap piece. Five minutes of testing beats ruining a customer's jacket.
Cost, Speed, and When DTF Makes Sense
DTF is not always the cheapest option, but it is often the most flexible. For small runs of full-color designs, it beats screen printing on setup cost and beats vinyl on detail. A single A3 sheet can hold multiple small logos, which brings the per-piece cost down significantly. If you are printing 50 shirts with a six-color design, screen printing will likely win on price. If you are printing 12 shirts with a photographic gradient, DTF is the clear choice.
Speed matters too. Once your file is ready, you can print and powder a sheet in a few minutes and press it in under 30 seconds. That turnaround is hard to match with other methods, especially for one-off custom orders.
Frequently Asked Questions
How long does a DTF transfer last on a shirt?
With proper curing and pressing, a DTF transfer typically lasts 50 or more washes. Washing the garment inside out in cold water and avoiding high heat in the dryer will extend its life considerably.
Can I use DTF on 100% polyester?
Yes, but you need to lower the press temperature and use low-bleed film or a dye-blocking underlayer. Polyester dyes can migrate into the transfer at high heat, which causes colors to shift over time.
Do I need a special printer for DTF printing?
You need a printer with a white ink channel and a recirculation system. Some people convert Epson printers, but a dedicated DTF printer is more reliable and requires less maintenance.
What is the difference between hot peel and cold peel DTF film?
Hot peel film lets you remove the carrier sheet while the transfer is still warm, which speeds up production. Cold peel film requires the transfer to cool completely before peeling, which can give a slightly smoother finish but slows down your workflow.
Can I stack multiple DTF transfers on one garment?
Yes. Press the first transfer, let it cool, then press the second one on top or beside it. Avoid overlapping the adhesive areas too much, as this can create a thick, stiff spot.