
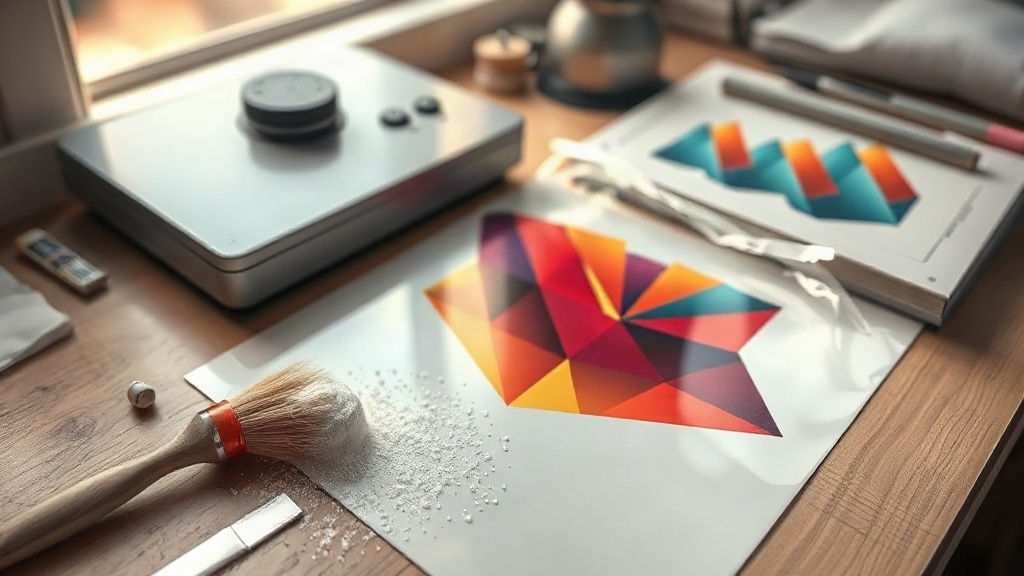
Most people come to DTF printing with the same story: they have a heat press sitting in the corner, a stack of blank shirts, and a growing frustration with vinyl that peels after a few washes. Direct to film looks like the answer, and it often is. But the gap between a decent transfer and a ruined one usually comes down to a handful of details nobody explains properly the first time. This guide walks through the whole process the way it actually happens in a small shop, including the parts that go wrong.
What DTF Printing Actually Is
Direct to film is a two-part system. First, a printer lays down a mirror-image design onto a special PET film using water-based pigment inks, with a white ink layer underneath the colors. Second, while the ink is still wet, you dust thermoplastic adhesive powder over the print, shake off the excess, and cure it. The result is a dry, flexible transfer you can store for months and press onto almost any fabric.
That white ink layer is the reason DTF works on dark garments without the plasticky feel you get from layered vinyl. The adhesive powder is the reason it survives laundry. Skip either step and the transfer either looks washed out or flakes off within a week.
Setting Up Your Workspace
Printer and Ink
Most beginners start with a converted desktop printer running dedicated DTF inks. The critical requirement is a printhead that can handle white ink, because white pigment settles and clogs faster than any other color. If your printer sits unused for more than a couple of days, run a cleaning cycle before you start a job. It wastes a little ink and saves a lot of headache.
Film and Powder
Not all PET film behaves the same. Cheap film curls at the edges during printing and releases the ink unevenly during pressing. Look for film with a consistent coating and a matte side you can identify by touch. For powder, finer grain gives a softer hand feel; coarser powder bonds more aggressively but adds texture. Keep both sealed between uses, since humidity is the enemy of consistent results.
Heat Press
A press with even pressure matters more than brand. Uneven pressure shows up as dull patches where the powder never fully melted. Test your press with a sheet of thermal paper before committing to a real transfer.
The Step-by-Step Process
- Prepare the artwork. Mirror the design and set the color profile your printer expects. Saturated colors transfer more vividly than pastels.
- Print onto film. Use a quality setting that lays down enough white ink. Thin white layers disappear on dark shirts.
- Apply powder. While the ink is wet, sprinkle adhesive powder evenly across the print. A shaker bottle works better than a spoon.
- Remove excess. Tilt the film and tap gently, then brush off remaining powder with a soft brush. Any powder outside the ink area becomes a visible halo after pressing.
- Cure the powder. Heat the film until the powder turns glossy and gels. This usually takes under a minute in a curing oven or a few passes under a heat gun.
- Press the transfer. Place the film powder-side down on the garment and press at medium-high pressure for around 15 seconds at roughly 160°C (320°F).
- Peel. Wait for the film to cool slightly, then peel in one smooth motion. Hot peel films release immediately; cold peel films need a longer wait.
Choosing the Right Fabric
Cotton takes DTF transfers beautifully. So do cotton-poly blends, though the poly content changes how the ink cures. Pure polyester can work, but you need lower pressing temperatures to avoid dye migration, where the garment's dye bleeds upward through the transfer. Nylon and treated water-resistant fabrics are the hardest cases and often need specialty powders.
If you are printing on a dark polyester jersey for a sports team, do a test press first. That one shirt will tell you more than any chart.
Common Problems and How to Fix Them
The transfer peels after washing
This almost always traces back to under-cured powder or insufficient pressure. Increase pressing time slightly and check that your press is actually applying even force across the platen. Washing inside out in cold water helps, but it will not save a transfer that was never bonded properly.
Colors look dull or faded
Either the white ink layer is too thin or the powder did not fully melt. Try increasing the white ink density in your print settings and verify your curing step with a quick visual check: the powder should look wet and glossy, not chalky.
Powder halo around the design
Excess powder was left on the film. Brush more carefully, and consider using a finer powder that clings only to the wet ink. A small static brush helps on dry days.
Film curls during printing
Humidity and low-quality film are the usual culprits. Store film flat in a sealed bag and avoid printing in a room with swinging temperature.
Where DTF Fits in a Small Shop
The real advantage of DTF is flexibility. You can print one shirt or fifty without setup costs, and the same transfer works on cotton, blends, and many synthetics. For a shop taking small custom orders, that versatility often beats screen printing on price and turnaround.
It also stores well. A cured transfer kept flat and dry stays usable for months, so you can print a batch during a slow afternoon and press them as orders come in. That single habit has saved more than one small operation from turning down rush jobs.
Frequently Asked Questions
How long does a DTF transfer last on a shirt?
With proper curing and pressing, a transfer typically survives dozens of wash cycles. Longevity depends heavily on the powder cure and how the shirt is laundered. Cold water, inside-out washing, and air drying all extend the life noticeably.
Can you use DTF on 100% polyester?
Yes, but with caution. Lower the press temperature and shorten the dwell time to reduce dye migration. Testing on a scrap piece of the same fabric is the only reliable way to dial in settings.
Do you need a special printer for DTF?
You need a printer that supports white ink and can handle the thicker pigment formulation. Many people convert a suitable desktop printer and run dedicated DTF inks. Standard dye-sub or office printers will not produce a usable transfer.
What temperature and time should I press at?
A common starting point is around 160°C (320°F) for 15 seconds at medium-high pressure. Every press and fabric combination varies slightly, so treat that as a baseline and adjust from there.
Is DTF better than vinyl for small orders?
For detailed, multi-color designs, yes. Vinyl requires layering and weeding, which gets slow and error-prone with complex artwork. DTF prints the whole design in one pass and presses in a single step, which is why it has become a favorite for one-off and short-run work.