
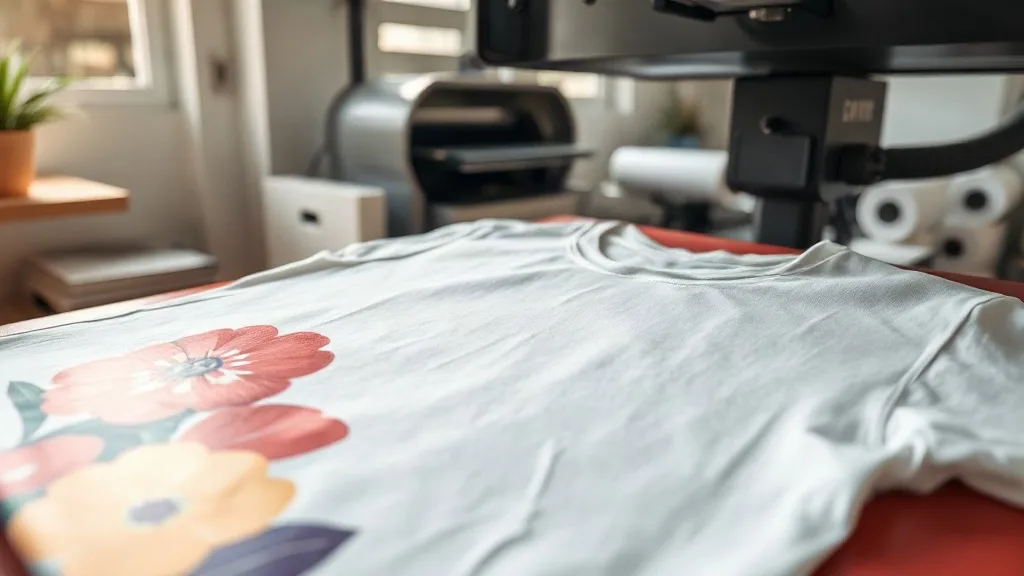
If you've been exploring custom apparel printing, you've likely encountered the term dtf. Direct-to-film printing has taken the garment decoration world by storm, offering a versatile and cost-effective alternative to traditional methods. But what exactly makes dtf transfers so appealing, and how can you achieve professional-looking results at home or in your shop? Let's break down the process, the benefits, and the practical steps to get you started.
What Are DTF Transfers?
DTF stands for Direct-to-Film. It's a printing technique where your design is printed onto a special PET film using water-based pigment inks. A hot-melt adhesive powder is then applied to the wet ink, and the film is cured. The resulting transfer can be heat-pressed onto various fabrics, including cotton, polyester, blends, and even treated nylon. Unlike DTG (Direct-to-Garment), DTF doesn't require pre-treatment of the garment, and it works on dark colors without a white underbase.
The magic lies in the film and the powder. The film holds the ink and releases it cleanly during pressing, while the powder acts as a glue that bonds the ink to the fabric. This two-step process allows for vibrant, opaque prints with fine details, making it ideal for small text, gradients, and photographic images.
Why Choose DTF Transfers?
There are several reasons why DTF has become a favorite among hobbyists and professionals alike:
- No color limitations: You can print any color, including white, on any fabric color without needing multiple screens or plates.
- Works on almost any fabric: From 100% cotton to polyester, blends, and even leather, DTF adheres well.
- Cost-effective for small runs: Unlike screen printing, there are no setup fees or minimums. You can print one-offs or large batches.
- Durability: When applied correctly, DTF prints resist cracking, peeling, and fading, even after multiple washes.
- Soft hand feel: The prints are thin and flexible, unlike some vinyl or transfer methods that feel rubbery.
Additionally, DTF transfers can be stored for months, allowing you to print on demand and press when needed. This flexibility is a game-changer for small businesses and crafters.
How to Apply DTF Transfers Correctly
Getting a professional finish with DTF requires attention to detail. Here's a step-by-step guide to help you press like a pro.
Step 1: Prepare Your Workspace
Set your heat press to the recommended temperature, usually between 300°F and 325°F (150°C to 160°C). Ensure your press is clean and free of residue. Pre-press the garment for a few seconds to remove moisture and wrinkles. This step is crucial for proper adhesion.
Step 2: Position the Transfer
Place the DTF transfer on the garment with the printed side facing up. If your design has a white layer, it will be on top of the ink. Position it exactly where you want it. You can use heat-resistant tape to hold it in place if needed.
Step 3: Press and Peel
Apply medium to firm pressure for 10-15 seconds. The exact time depends on your press and the film manufacturer's instructions. After pressing, let the transfer cool completely before peeling. This is a cold peel process, so patience is key. Peeling too early can cause the design to lift or smear.
Step 4: Post-Press for Durability
For added durability, cover the design with a Teflon sheet or parchment paper and press again for another 5-10 seconds. This second press ensures the adhesive fully cures and the print becomes wash-resistant.
Common Mistakes to Avoid
Even experienced crafters can run into issues. Here are some pitfalls to watch out for:
- Insufficient pressure: Without enough pressure, the transfer won't adhere properly, leading to peeling.
- Wrong temperature: Too hot and the film may melt or the ink may scorch; too cold and the adhesive won't activate.
- Peeling too soon: Always wait for the transfer to cool completely before peeling.
- Ignoring fabric type: Some fabrics, like certain nylons, require lower temperatures. Always test on a scrap piece first.
- Not storing transfers properly: Keep unused transfers in a cool, dry place away from direct sunlight to prevent the adhesive from losing its tackiness.
Choosing the Right DTF Supplies
The quality of your supplies directly impacts your results. Look for films that are specifically designed for DTF printing; they should be coated to accept the ink and release it cleanly. The adhesive powder should be fine and evenly applied. Inks must be compatible with your printer and produce vibrant colors. Many suppliers offer starter kits that include everything you need to begin.
When selecting a printer, consider one that uses pigment inks and has a roll-fed system for continuous printing. Epson printers are popular for DTF conversions due to their reliability and print head technology. However, always follow the manufacturer's guidelines and use dedicated DTF inks, not regular inkjet inks.
Design Tips for Stunning DTF Prints
To make your designs pop, keep these tips in mind:
- Use high-resolution images: 300 DPI is recommended for crisp details.
- Add a white underbase: For dark garments, ensure your design includes a white layer behind the colors to maintain vibrancy.
- Mind the details: DTF can handle fine lines and small text, but avoid overly delicate elements that might not transfer well.
- Test your colors: Print a sample on the actual fabric to see how colors appear, as they can look different on screen.
Frequently Asked Questions
Can I use DTF transfers on 100% polyester?
Yes, DTF works well on polyester, but you may need to lower the pressing temperature to around 280°F to prevent the fabric from scorching or the print from becoming glossy. Always test first.
How long do DTF transfers last?
When applied correctly and cared for properly (washing inside out in cold water, no bleach, tumble dry low), DTF prints can last as long as the garment itself, often 50+ washes without significant fading or cracking.
Do I need a special printer for DTF?
You can convert certain inkjet printers, like Epson models, to use DTF inks. However, dedicated DTF printers are also available. The key is using pigment inks and a film that works with your printer.
Can I layer DTF transfers?
Layering is possible but tricky. It's best to avoid overlapping transfers unless you're experienced, as the adhesive might not bond properly between layers. If you must layer, press each layer separately and use a lower temperature for subsequent presses.
What's the difference between DTF and DTG?
DTG prints directly onto the garment, requiring pre-treatment and generally working best on 100% cotton. DTF prints onto a film first, then transfers to the garment, allowing it to work on a wider range of fabrics and colors without pre-treatment.
With practice and the right supplies, DTF transfers can elevate your custom apparel game. Whether you're a hobbyist or a growing business, mastering this technique opens up a world of possibilities. Remember to source quality materials, follow the pressing guidelines, and don't be afraid to experiment. Your customers will love the vibrant, durable results.